In this article we will look at multiple ways to create MySQL database. But first let’s clear some basic terminology.
What is a database?
A database is a structured collection of data that can be accessed by computers. The structure of a database is usually defined by a database management system (DBMS).
What is MySQL?
MySQL is a free, open source database management system that has gained widespread popularity since its release in 1995. It is easy to install, use, and maintain, and can handle a wide range of applications, including web sites.
Like all databases, MySQL stores data in tables; each piece of data or document is called a record. Each table has a type—for example, calendar to store date information in fields like month, date, and year. You can store multiple records for each item in a table. For example, you could store multiple phone numbers for each person in a table titled phone_numbers.
There are other database management systems, but in this article we will use MySQL.
How to install MySQL?
In most cases we don’t need to install MySQL separately on our computer. It is mostly installed on servers that we can access remotely. If you need to install it on your own computer, you can use software packages like XAMPP that will create a full server environment on your local machine and it automatically installs MySQL as well. I recommend installing XAMPP since it’s easy and you will also some other useful softwares installed alongside.
If you only need MySQL and nothing else, you can download the installer file from their website. The installation is similar to most softwares.
Create a mysql database
In order to create a new database we need to open a command prompt window (in Mac or Linux this is called terminal). In Windows op system, just type CMD in the Windows search and it will pop up.
First we need to log into mysql. To do this you can use the following command:
mysql -u [username] -p;Here, change [username] with your username. The default MySQL user is called “root”. After this, you will need to provide a password. This root user by default doesn’t have a password, so you can just hit enter. You are logged in.
To create a database, you need the following command:
CREATE DATABASE newdb;The “CREATE DATABASE” is the command, the “newdb” is the name of the new database. You can call it however you want. paste this command into the command prompt or terminal and hit enter. The new database is created.
Some useful database commands
Removing a database
If you want to delete a database use this command:
DROP DATABASE newdb;This will remove the database and all associated data with it, so be careful.
List all databases
If you want to see all your databases listed, you can use the following command:
SHOW DATABASES;This will list all your existing databases.
Use a database
In order to perform operation on a database, you need to use it or kid of log into it. After logging into your MySQL client, use this command:
USE database_namewhere “database_name” is the name of your database. Now you can create tables, edit records etc.
Create a MySQL user
Each database must be associated with a database user. For best practices it’s better to have a separate user for each database.
To create a new database user, we need the following command.
CREATE USER 'your_name'@'localhost' IDENTIFIED BY 'password';Make sure to change “your_name” and “password”.
Now we created a user, but we still need to tell MySQL which database this user can access and what operations it can perform on that database. For this we need to grant certain privileges to this user.
GRANT ALL PRIVILEGES ON database_name. * TO 'username'@'localhost';This command will grant all privilegese for this user, meaning he/she will be able to do anything on this database.
If you think this is too difficult to manage your database, you are right. Luckily there are easier ways to handle all this.
If you are using databases for your websites, there is good news. There are server control panels that come with easy-to-use database management options. You can find these control panels on almost all webhosting hosting services such as NameCheap. Let’s take a look at them.
Create a MySQL database in cPanel
cPanel is a web hosting control panel that comes with a graphical interface and automation tools designed to simplify the process of webhosting. cPanel is installed on a server that runs the Apache web server and the MySQL database server.
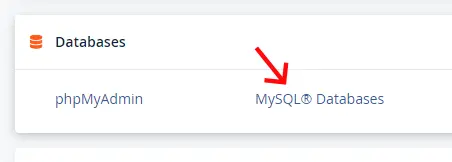
To create a database in cPanel, log into your cPanel account and go to “Databases” -> “MySQL Databases”
here, add a name to the new database and click the “Create Database” button.
Now, on the same page scroll down and create a new user
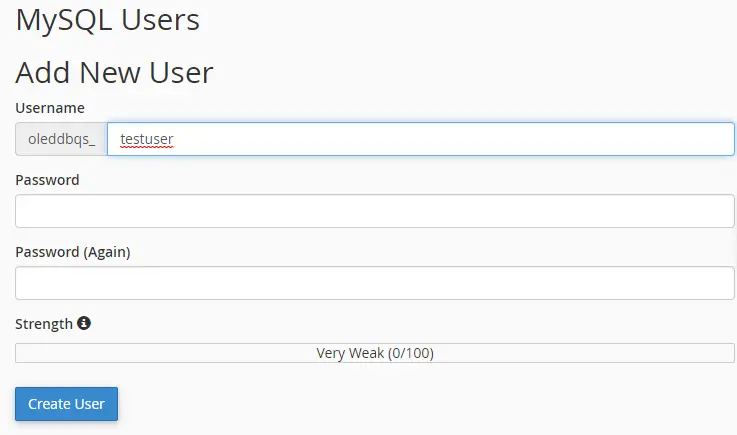
Add a name to the user and a strong password. Click the “Create user” button. The user has been created.
The last thing we need to do is associate the user with the database and grant privileges.
Still under the “MySQL® Databases” menu, scroll down to the “Add User To Database” section.
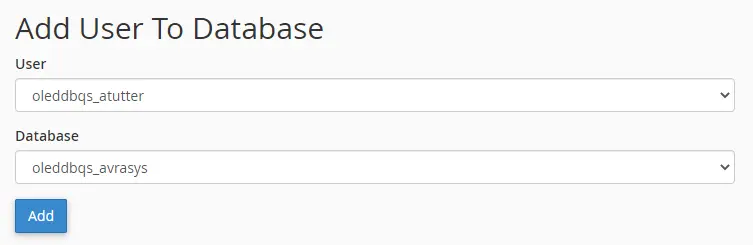
Select the user you just created and select the database you want this user added to. Click the “Add” button. You will be redirected to the “Manage User Privileges” page. Here just check the “ALL PRIVILEGES” checkbox, and click the “Make Changes” button.
And you are done. It was a lot easier than the command line version.
Create a MySQL database in Plesk
Plesk is another popular web hosting control panel similar to cPanel. Creating a database here is very similar to creating one in cPanel.
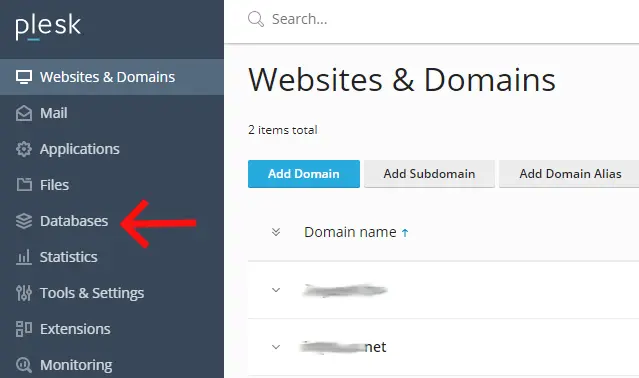
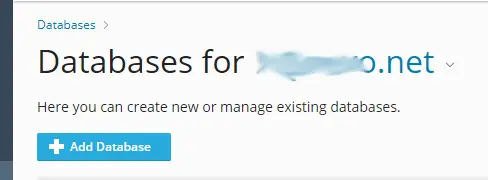
Log into your Plesk control panel and select the “Database” menu.
Here you need to select one of your domains. The database you create here will belong to this domain or subscription. Click the “Add Database” button.
Then you need to add a name for the database. Select a related site if you want to. This is usually the site that will use the database.
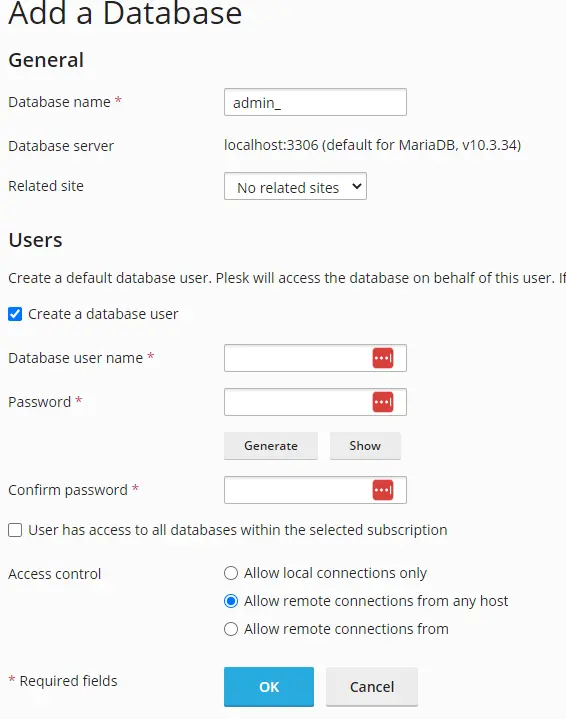
Still here, you can create a database user. Check the “Create a database user” option, provide a username and password. Leave the other options on their default settings and click ok.
The database has been created. In Plesk we don’t need to assign privileges separately like in cPanel.


Leave a reply
You must be logged in to post a comment.